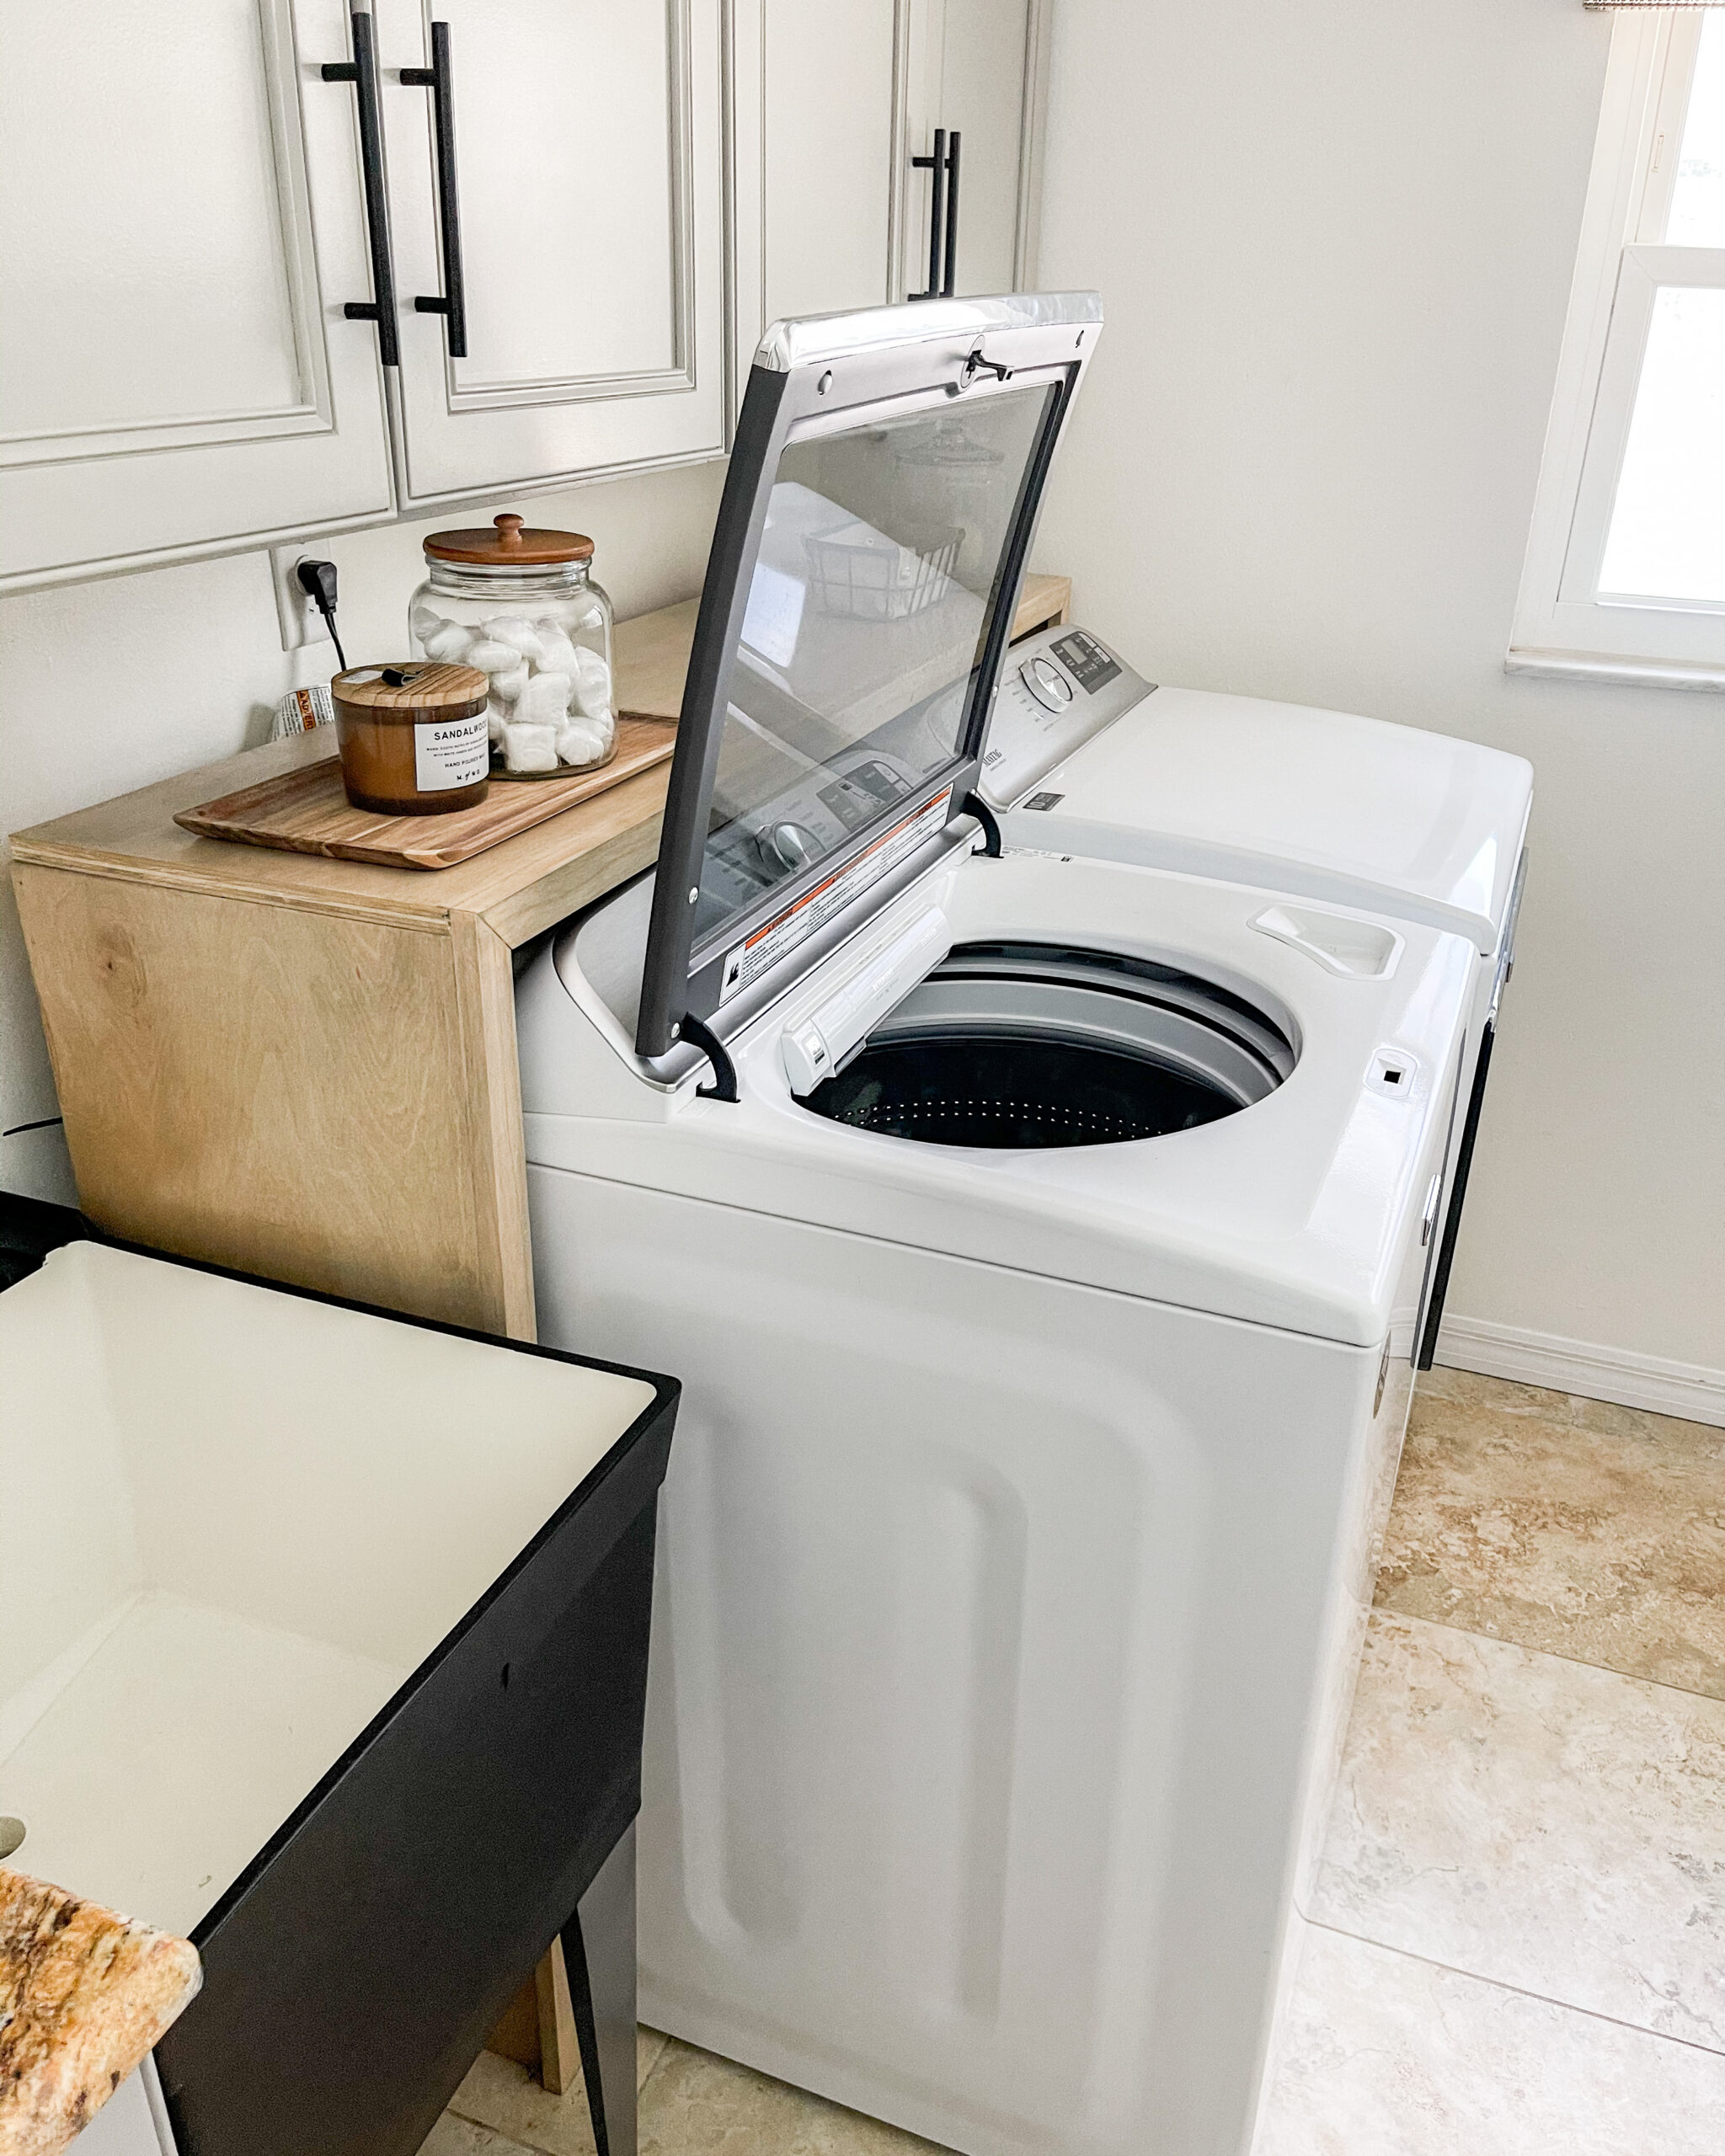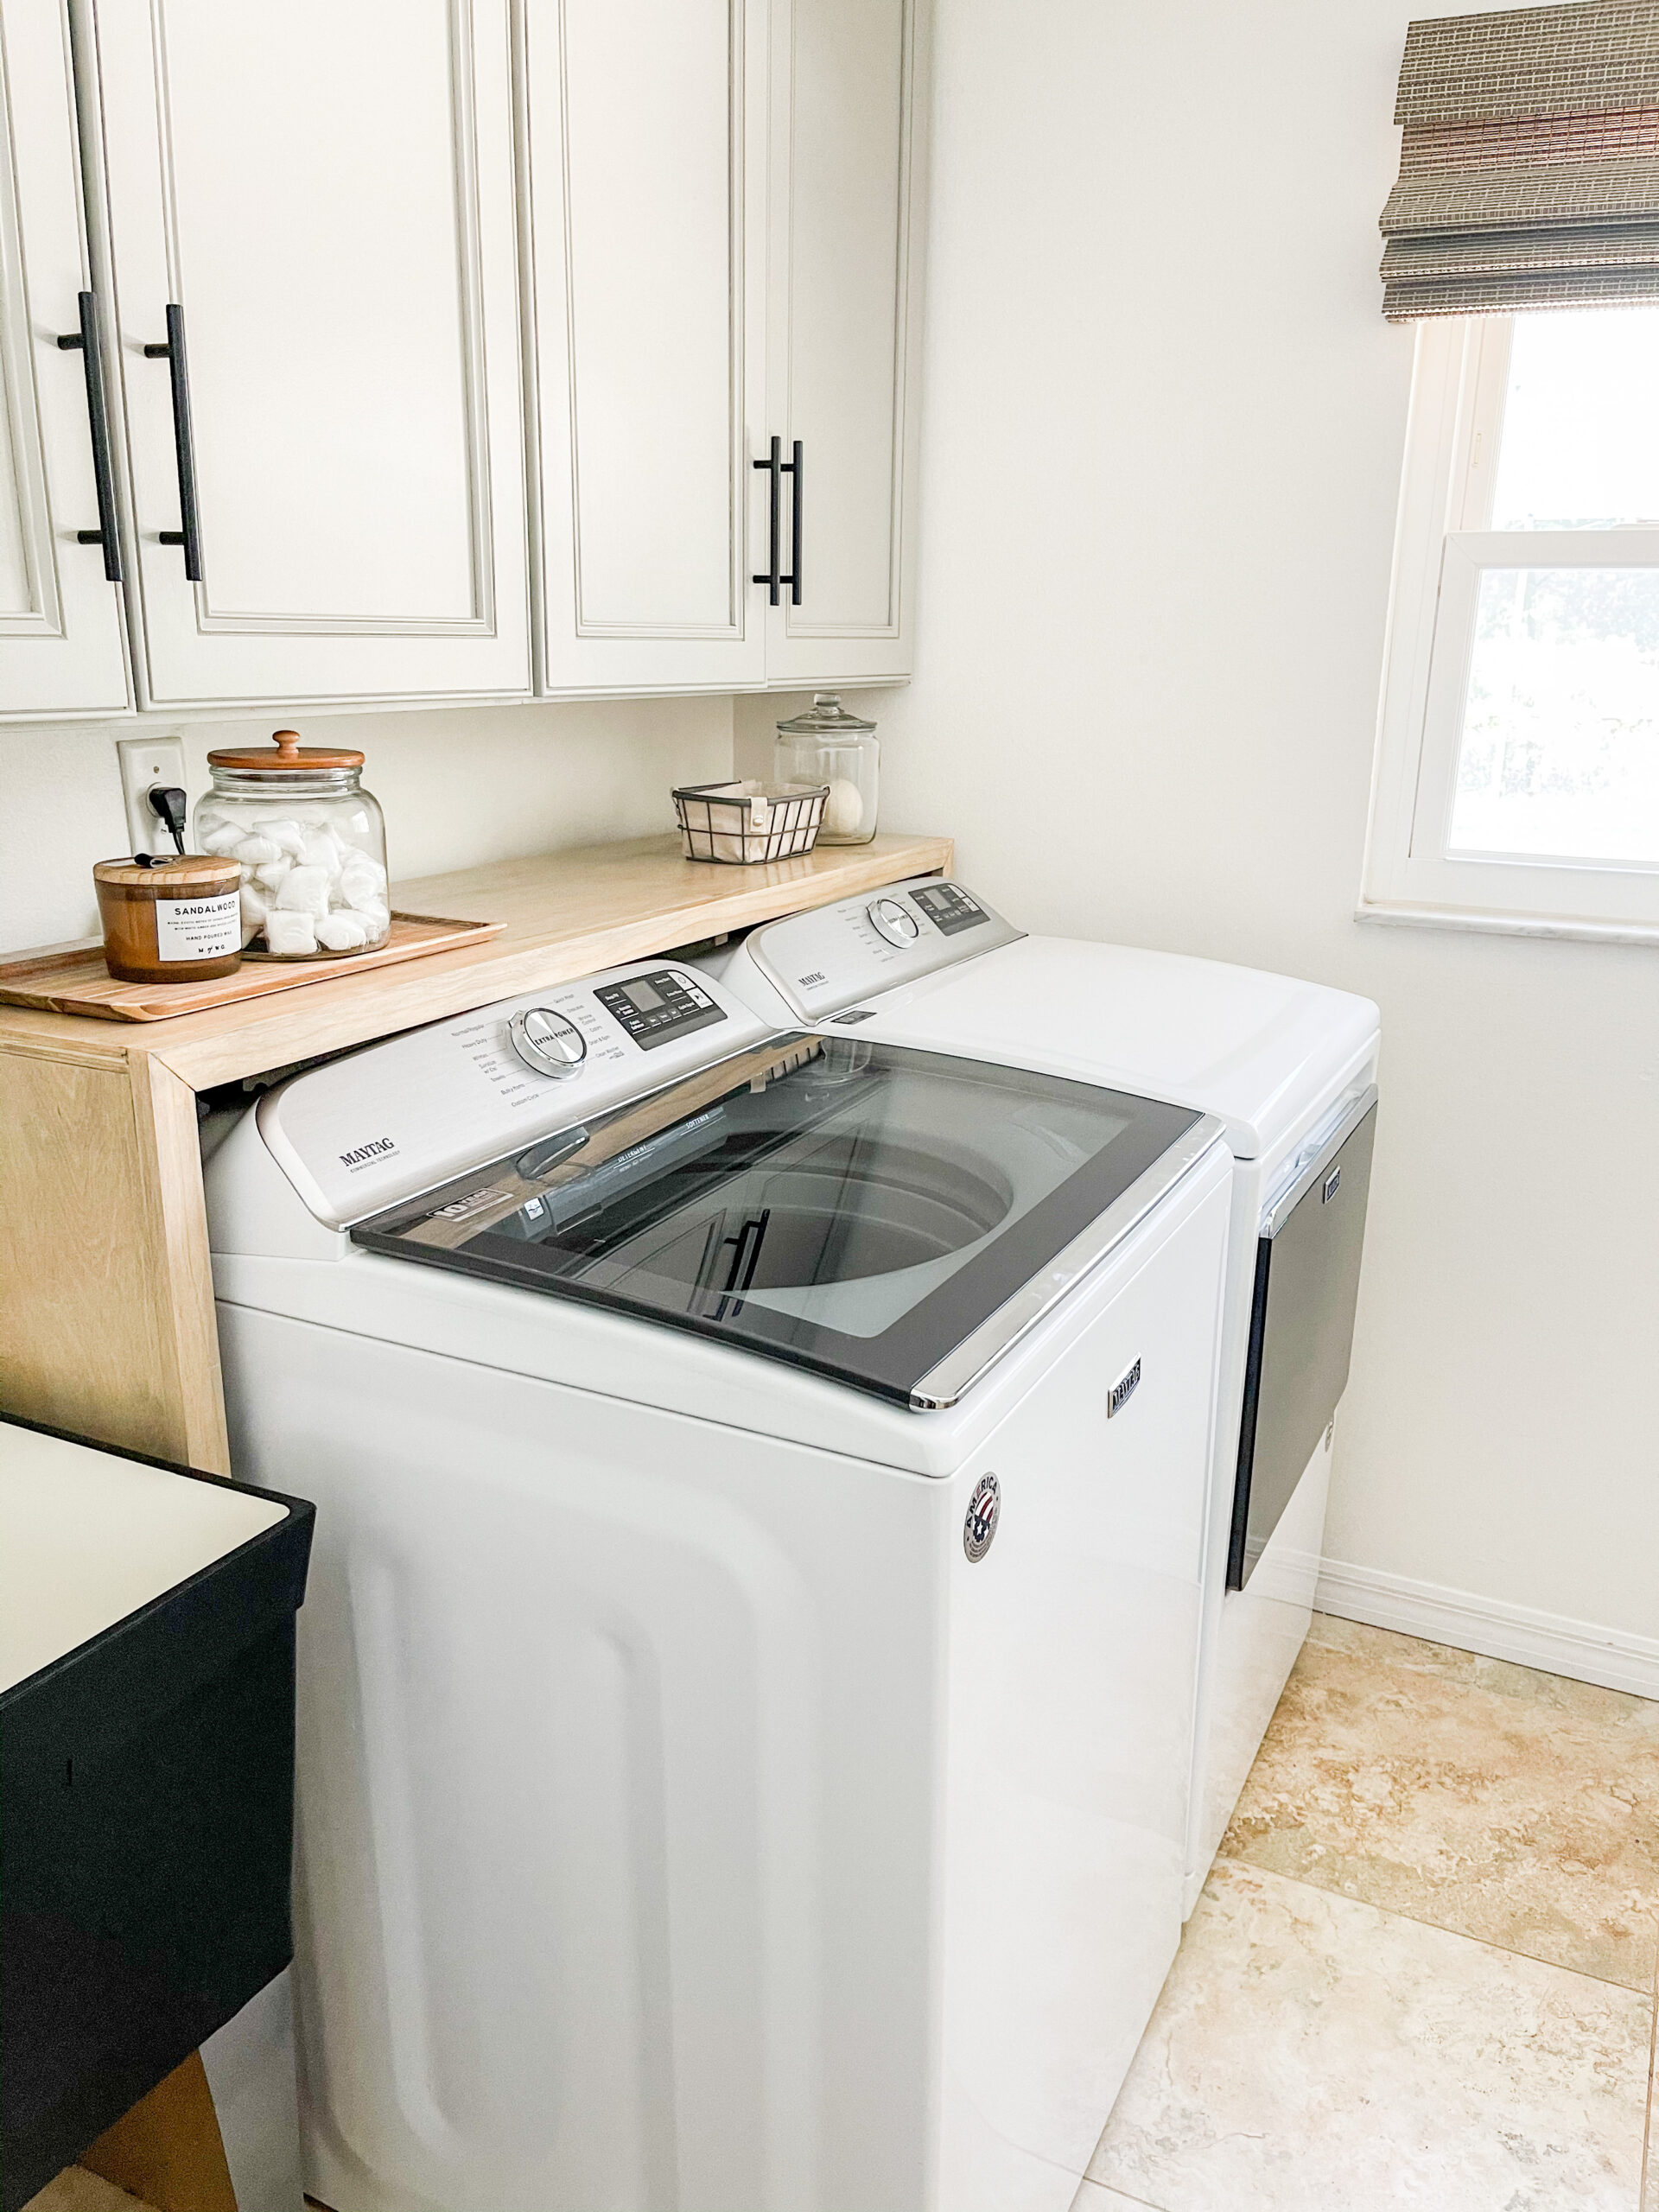


Yep. You read that correctly. This shelf tutorial is for a TOP-LOAD washer. All you see online are tutorials for front load washers, but top-load machines need cute and functional shelves, too! After searching long and hard for a tutorial that would accommodate my washing machine and coming up empty handed, I decided to draw up my own plans (without having a clue what I was doing). It all worked out perfectly and I hope this tutorial can now serve as a guide for you!
Step One: Measure & Draw Up a Plan
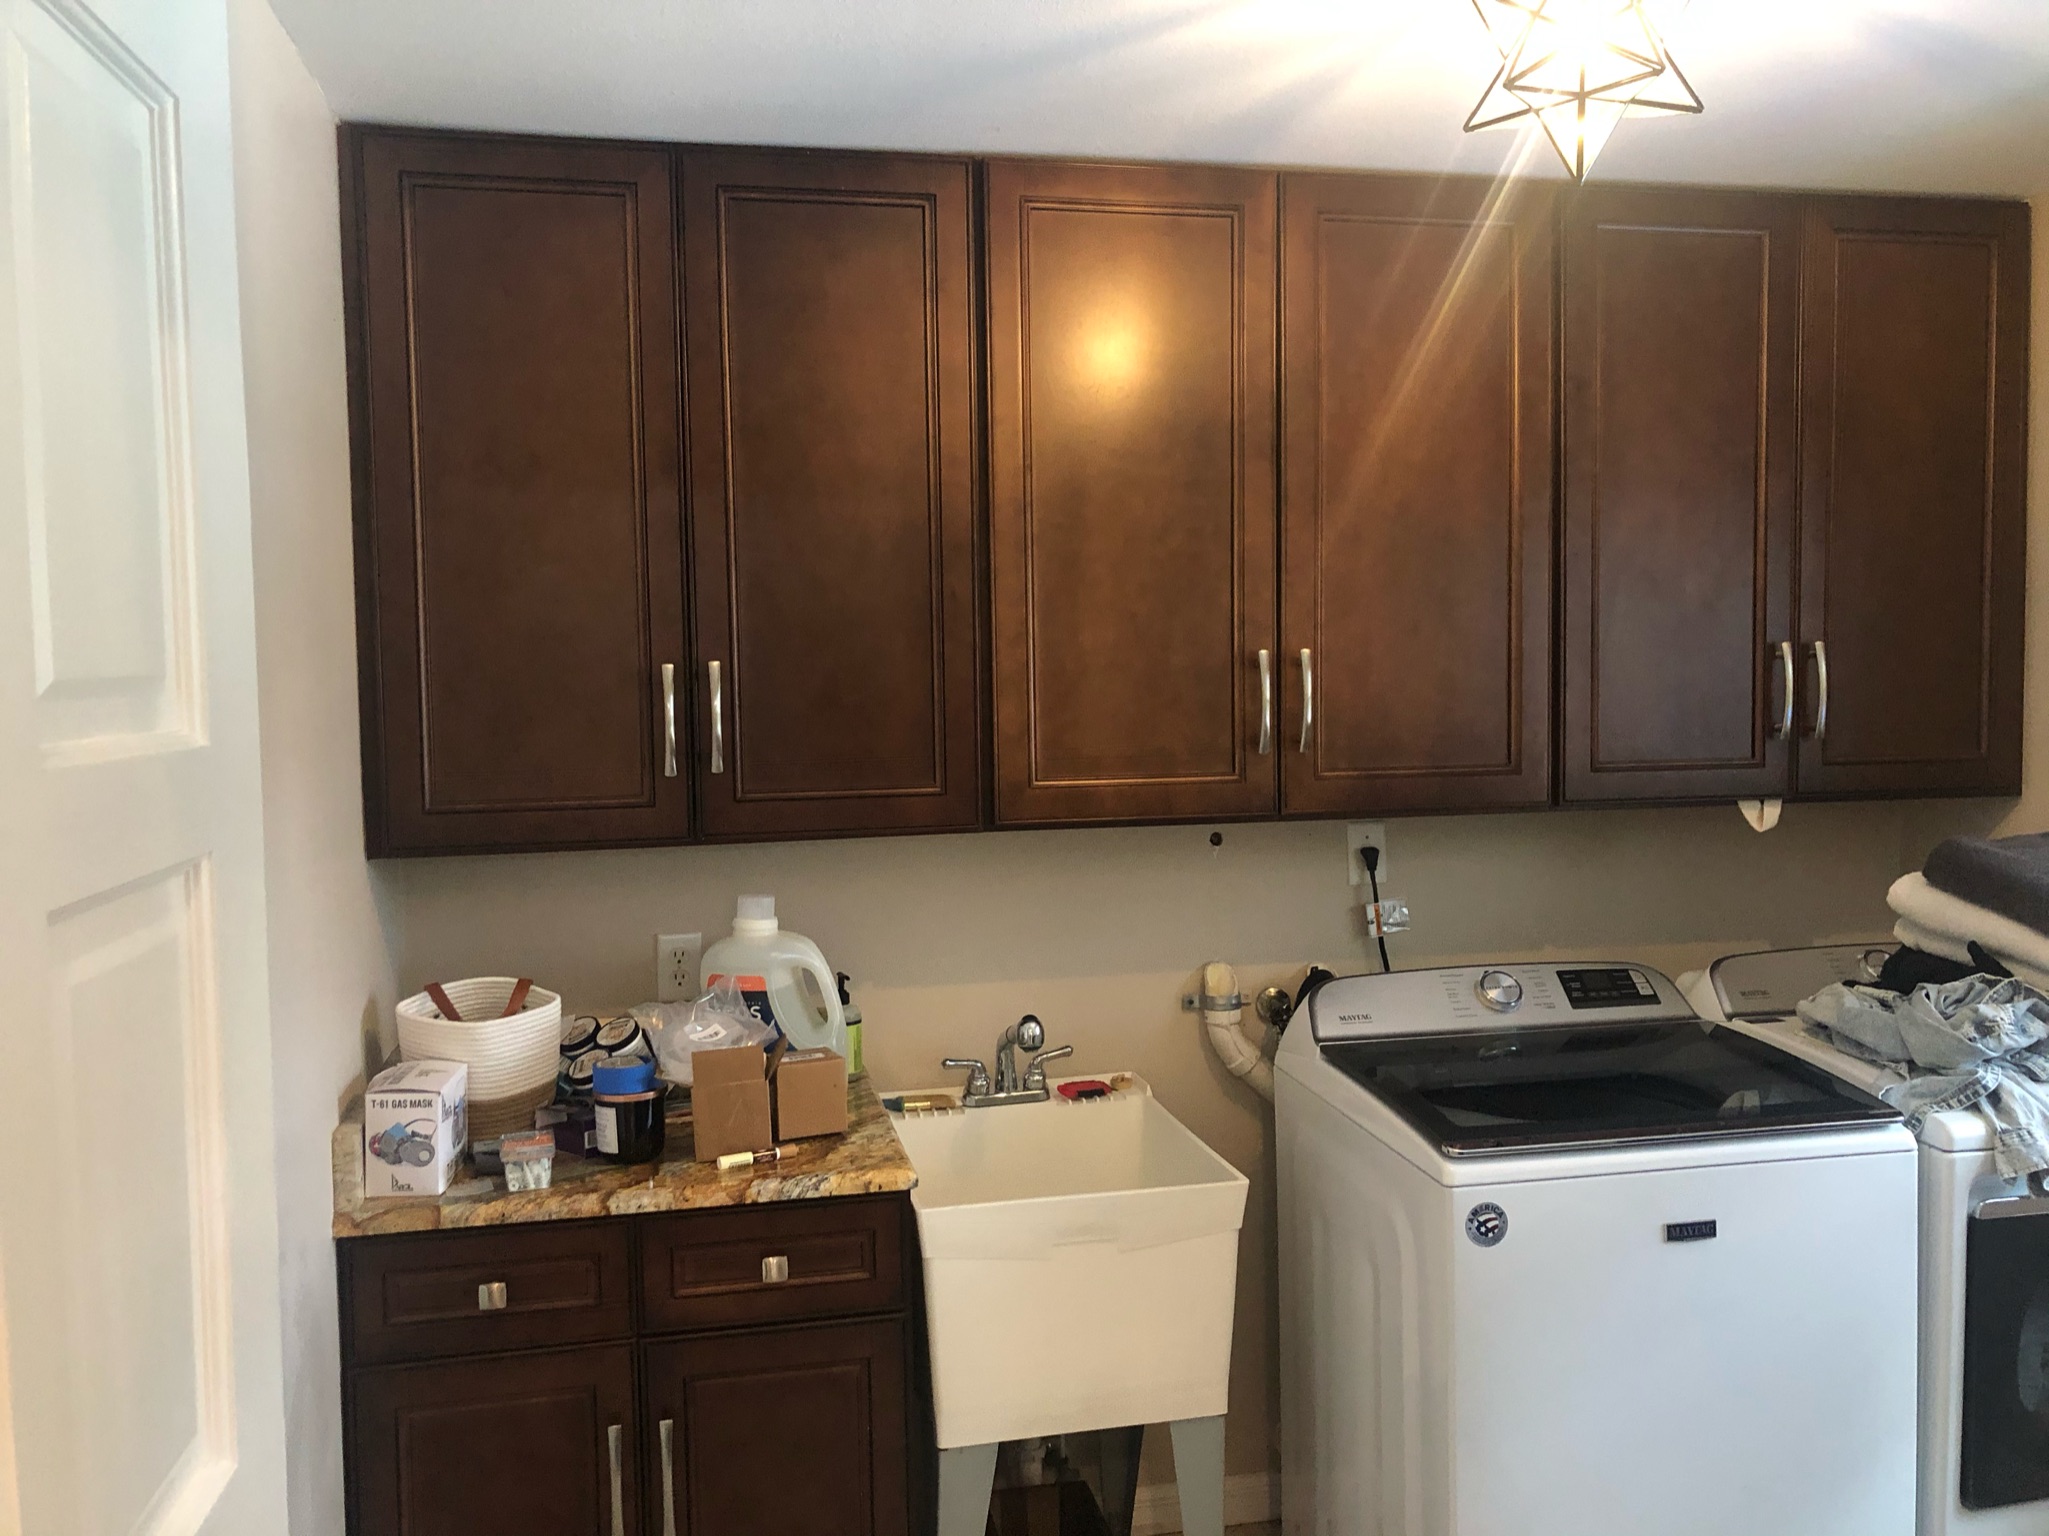
Let’s start with some measurements. I needed this to be deep enough to conceal our piping, but short enough that it wouldn’t interfere with the machine’s buttons or lid. 14” would do the trick, so I jotted this down as my first measurement. Then, I needed to determine it’s length – 5’ across. Next up, the height. I wanted this shelf to sit almost flush above the machine, again, to conceal the piping as much as possible. Any higher and you would’ve caught a glimpse of the piping from certain angles. That put the height at 43”. Between those three measurements, I had the frame for my shelf. See my rough sketch below.

Step Two: Supplies
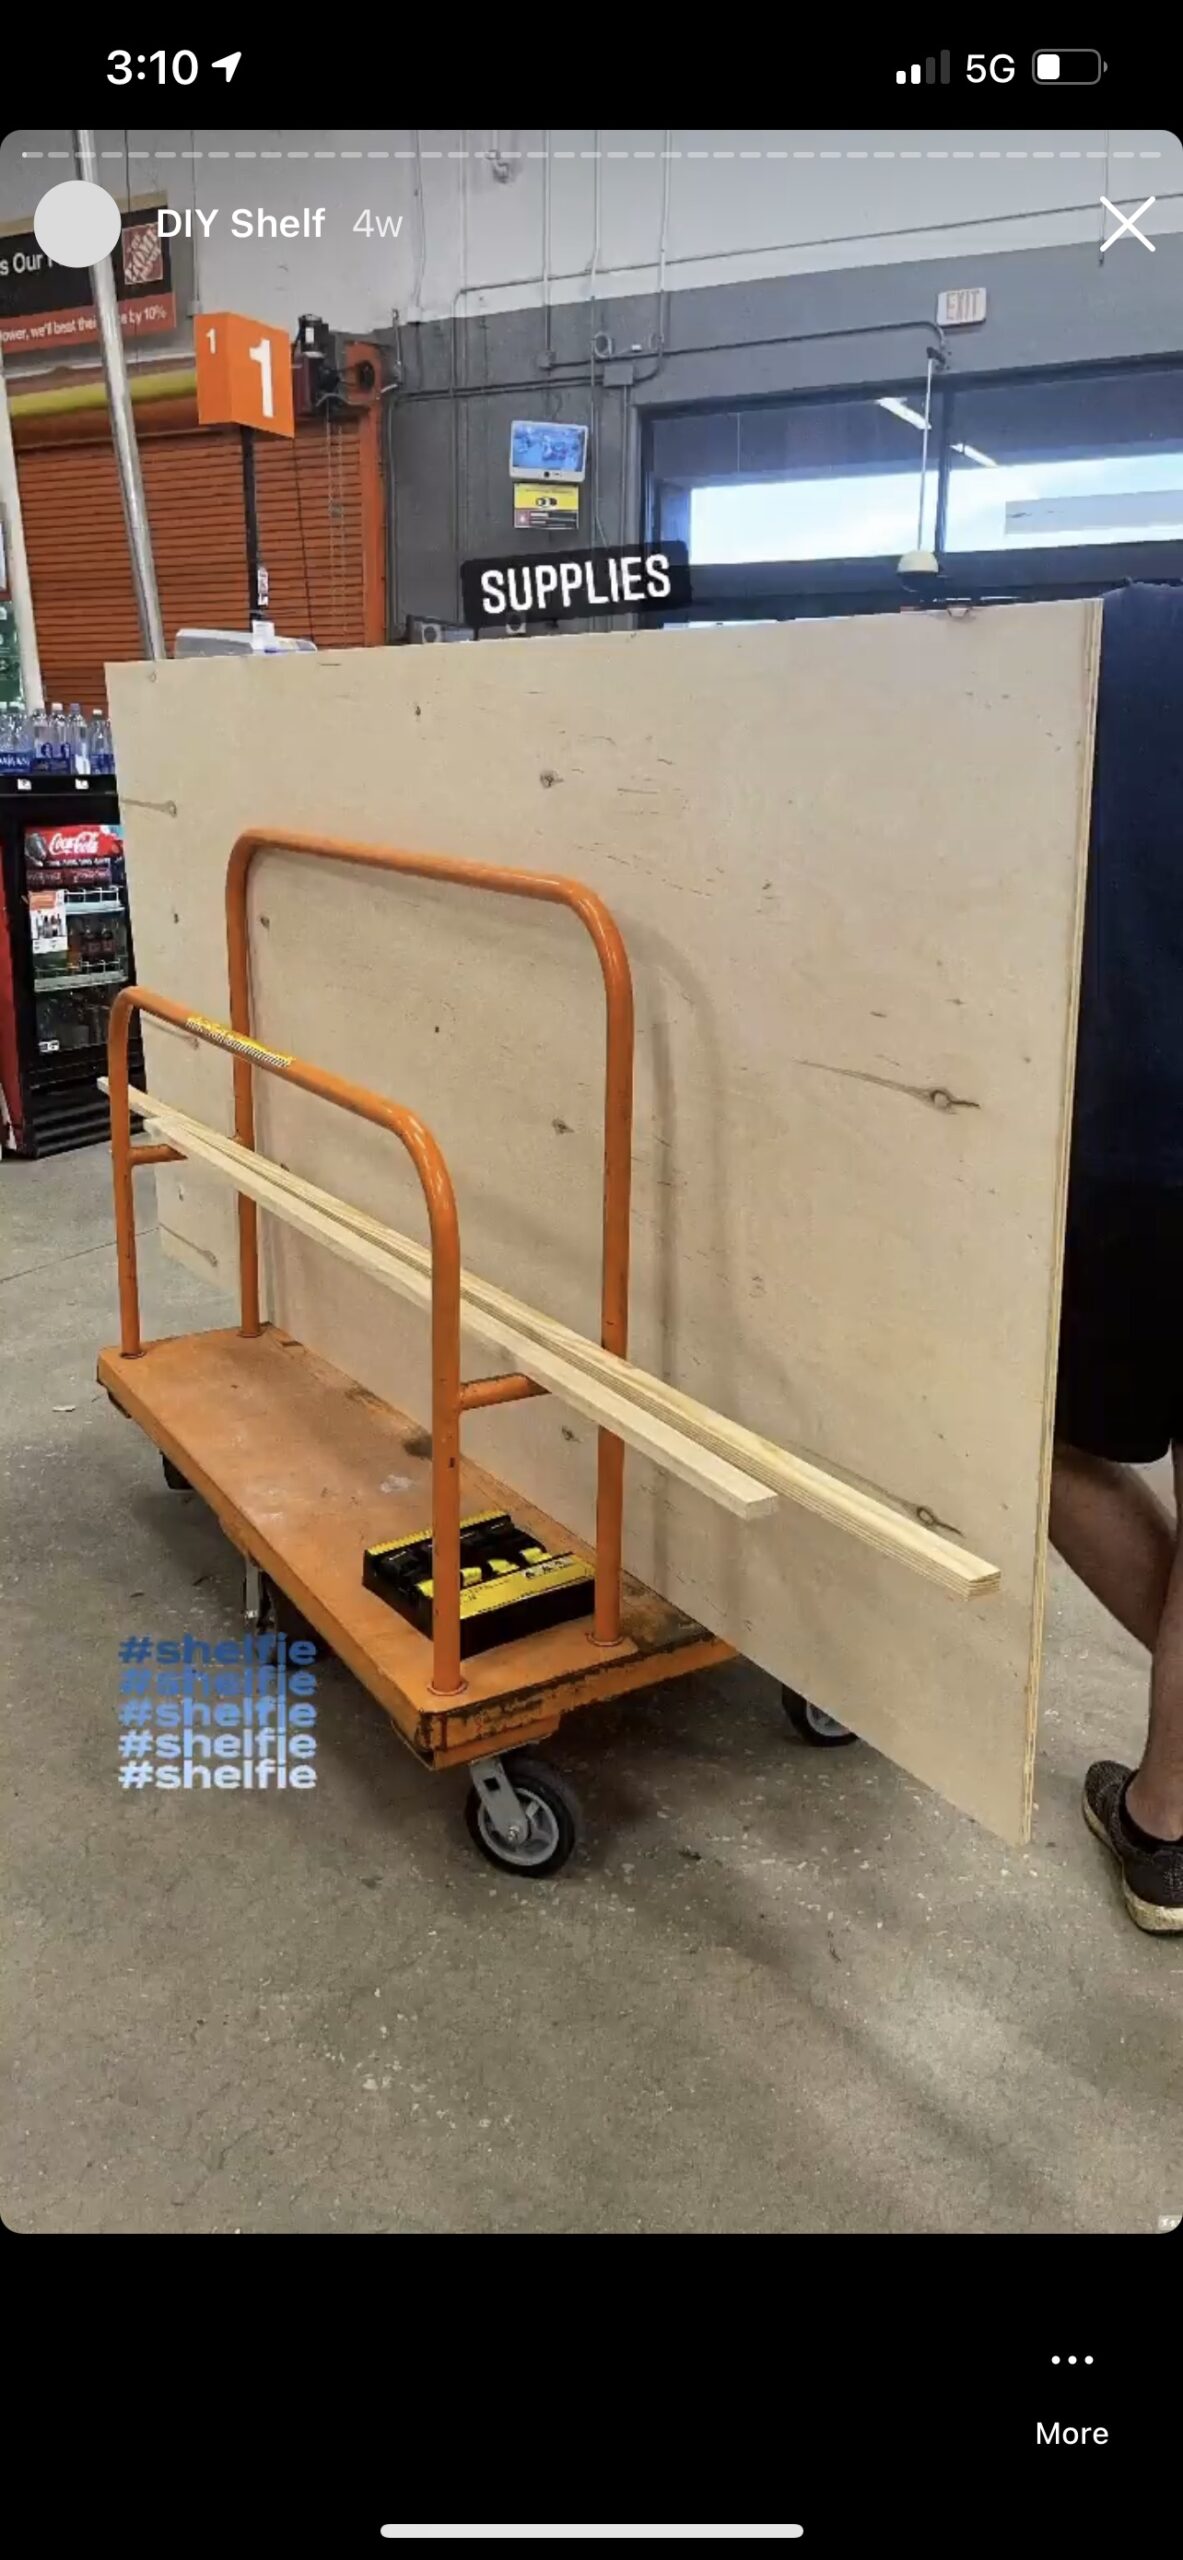
Wood is not commonly sold wider than 12”, and remember, the depth of my shelf is going to be 14”, so I knew I’d have to cut the frame out of a 4’x8’ sheet of plywood. And since I didn’t want to be looking at the edge of plywood from the front, I decided to add pine trim along the front and sides. I already knew my length and height measurements, so I knew for my trim I’d need to purchase one 6’ piece of pine for the top (a little extra just in case I run into any issues), and one 8’ piece for both sides (86” total, plus a few inches).
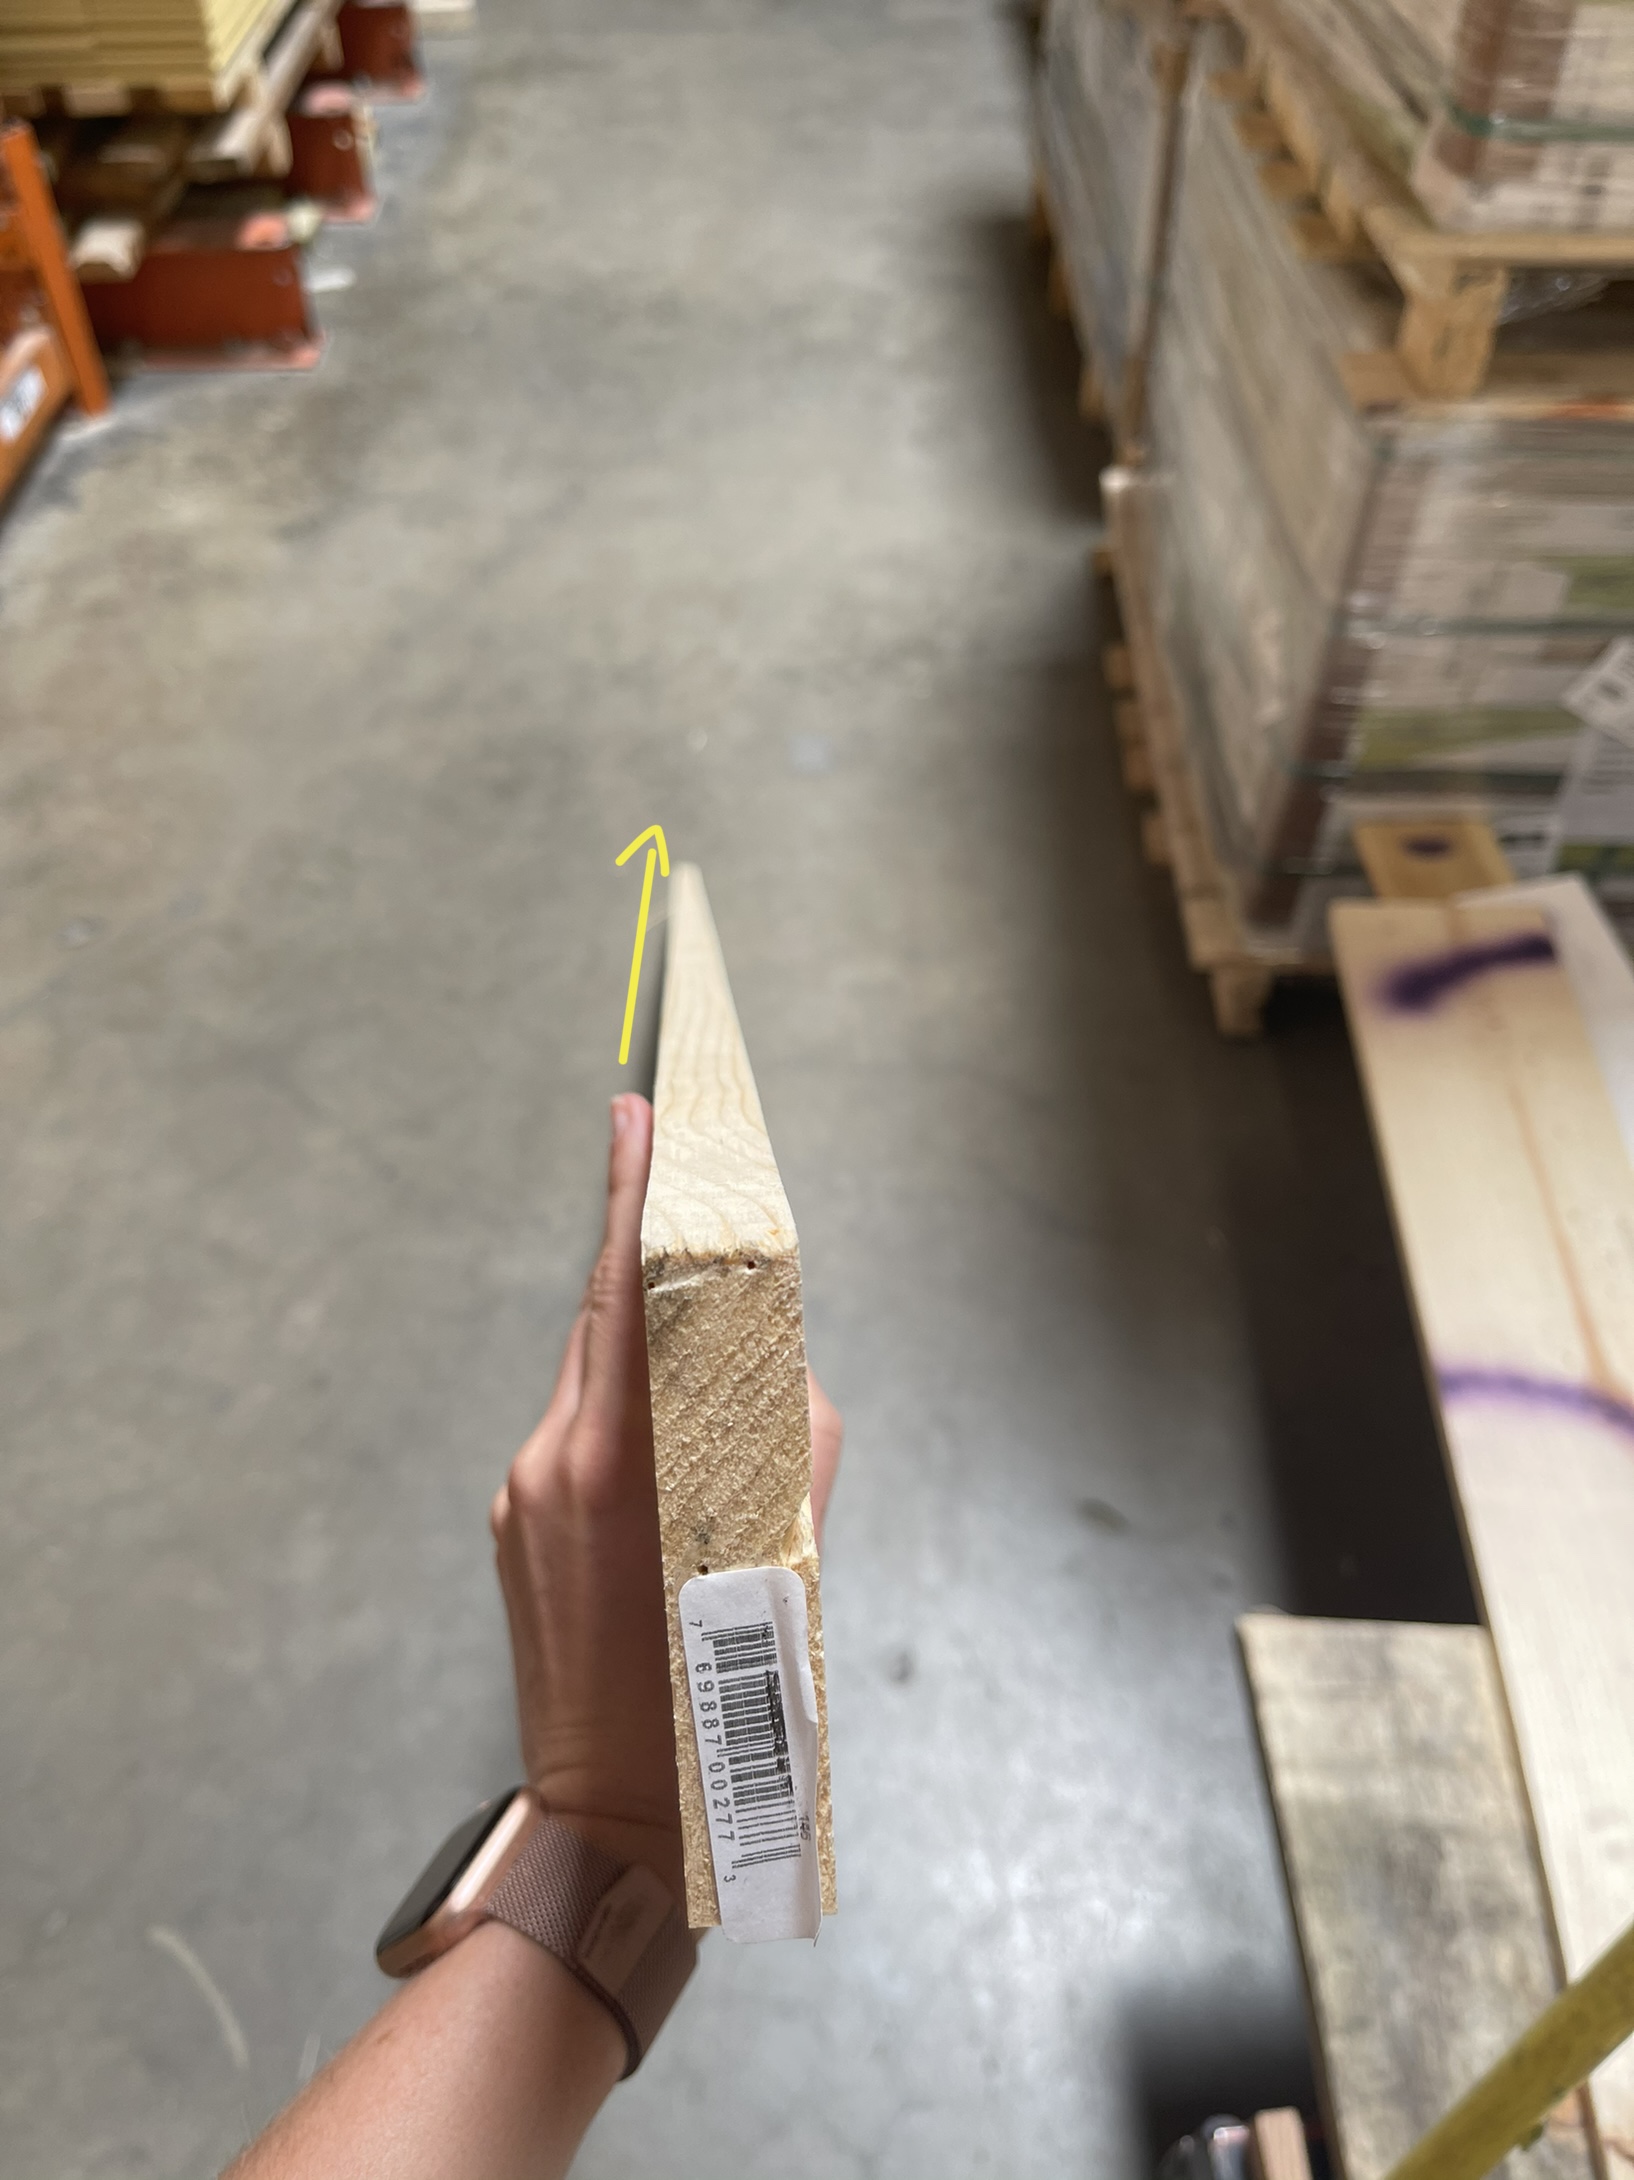
Tip: when picking out lumber, ALWAYS check to make sure what you’re buying is straight. You can check by turning the piece on its side and seeing if there are any curves. You’d be surprised how much lumber at big box stores is actually warped. And warped wood is no bueno.


Materials list:
- One 4’x8’ sheet of plywood
- One 2×4, 6’ pine
- One 2×4, 8’ pine
- Wood glue
- Kreg Jig Pocket Hole Guide
- Pocket screws
- Circular saw
- Jigsaw
- Sander
- Corner clamps
- Miter saw or mitered box if you’re not ready to invest in a power tool
- Saker tool (optional)
Step Three: Cutting Your Wood
Now, onto the fun part where we get to use power tools.
First step is to cut out the sides and top of your shelf from your sheet of plywood. We cut three pieces total with the following measurements:
- 14” x 60”
- 14” x 43”
- 14” x 43”
I started with the longest measurement, which was 14” in depth, and 5’ in length. I don’t own a table saw, so I used my circular saw instead. I marked my measurements and then drew my plumb lines. Tip: there are a couple things you can do to keep your circular saw straight while cutting. The first is to take a scrap piece of wood and clamp or nail it to the plywood, just outside of your saw’s cutting line. A second option is to purchase a circular saw track. Kreg Jig has a great one. I used the former option and it worked out just fine. I used this method for all three pieces. If you’re a visual learner, you can check out the highlight on my Instagram page for a breakdown.
My next challenge was that my shelf was going to intersect with my dryer vent on the right side, so I’d need to cut out an arch tall enough on the right side so that it could sit on top of the vent. A super easy way to determine the shape of the arch is to use a saker tool to contour around it. This tool is the BEST when it comes to making odd or intricate cuts. Definitely need this in your toolbox.
Once I had the arch’s shape, I measured the height of the top of the vent from the ground, and then it’s depth from the wall and used these two measurements to draw out the arch in my plywood.
Learn from my mistakes and use a jigsaw to make this type of cut. It’s much more nimble and precise than a circular saw and can cut curves easily (I attempted to cut it with a multi-tool and it was an epic fail.). You can see what the arch looked like after cutting it out with my jigsaw below.
Now that you have a frame, next up is cutting out your trim pieces from the pine. These are easy cuts. The top piece is 5’ in length (from tip to tip) and will have two mitered corners. The two sides will be 43” in length (from tip to tip) but only one mitered corner up top where it meets the top piece. Tip: You don’t have to use mitered angles for these. If you’re going for a more primitive look, you can just cut them straight across, but the mitered look is more polished, in my opinion.
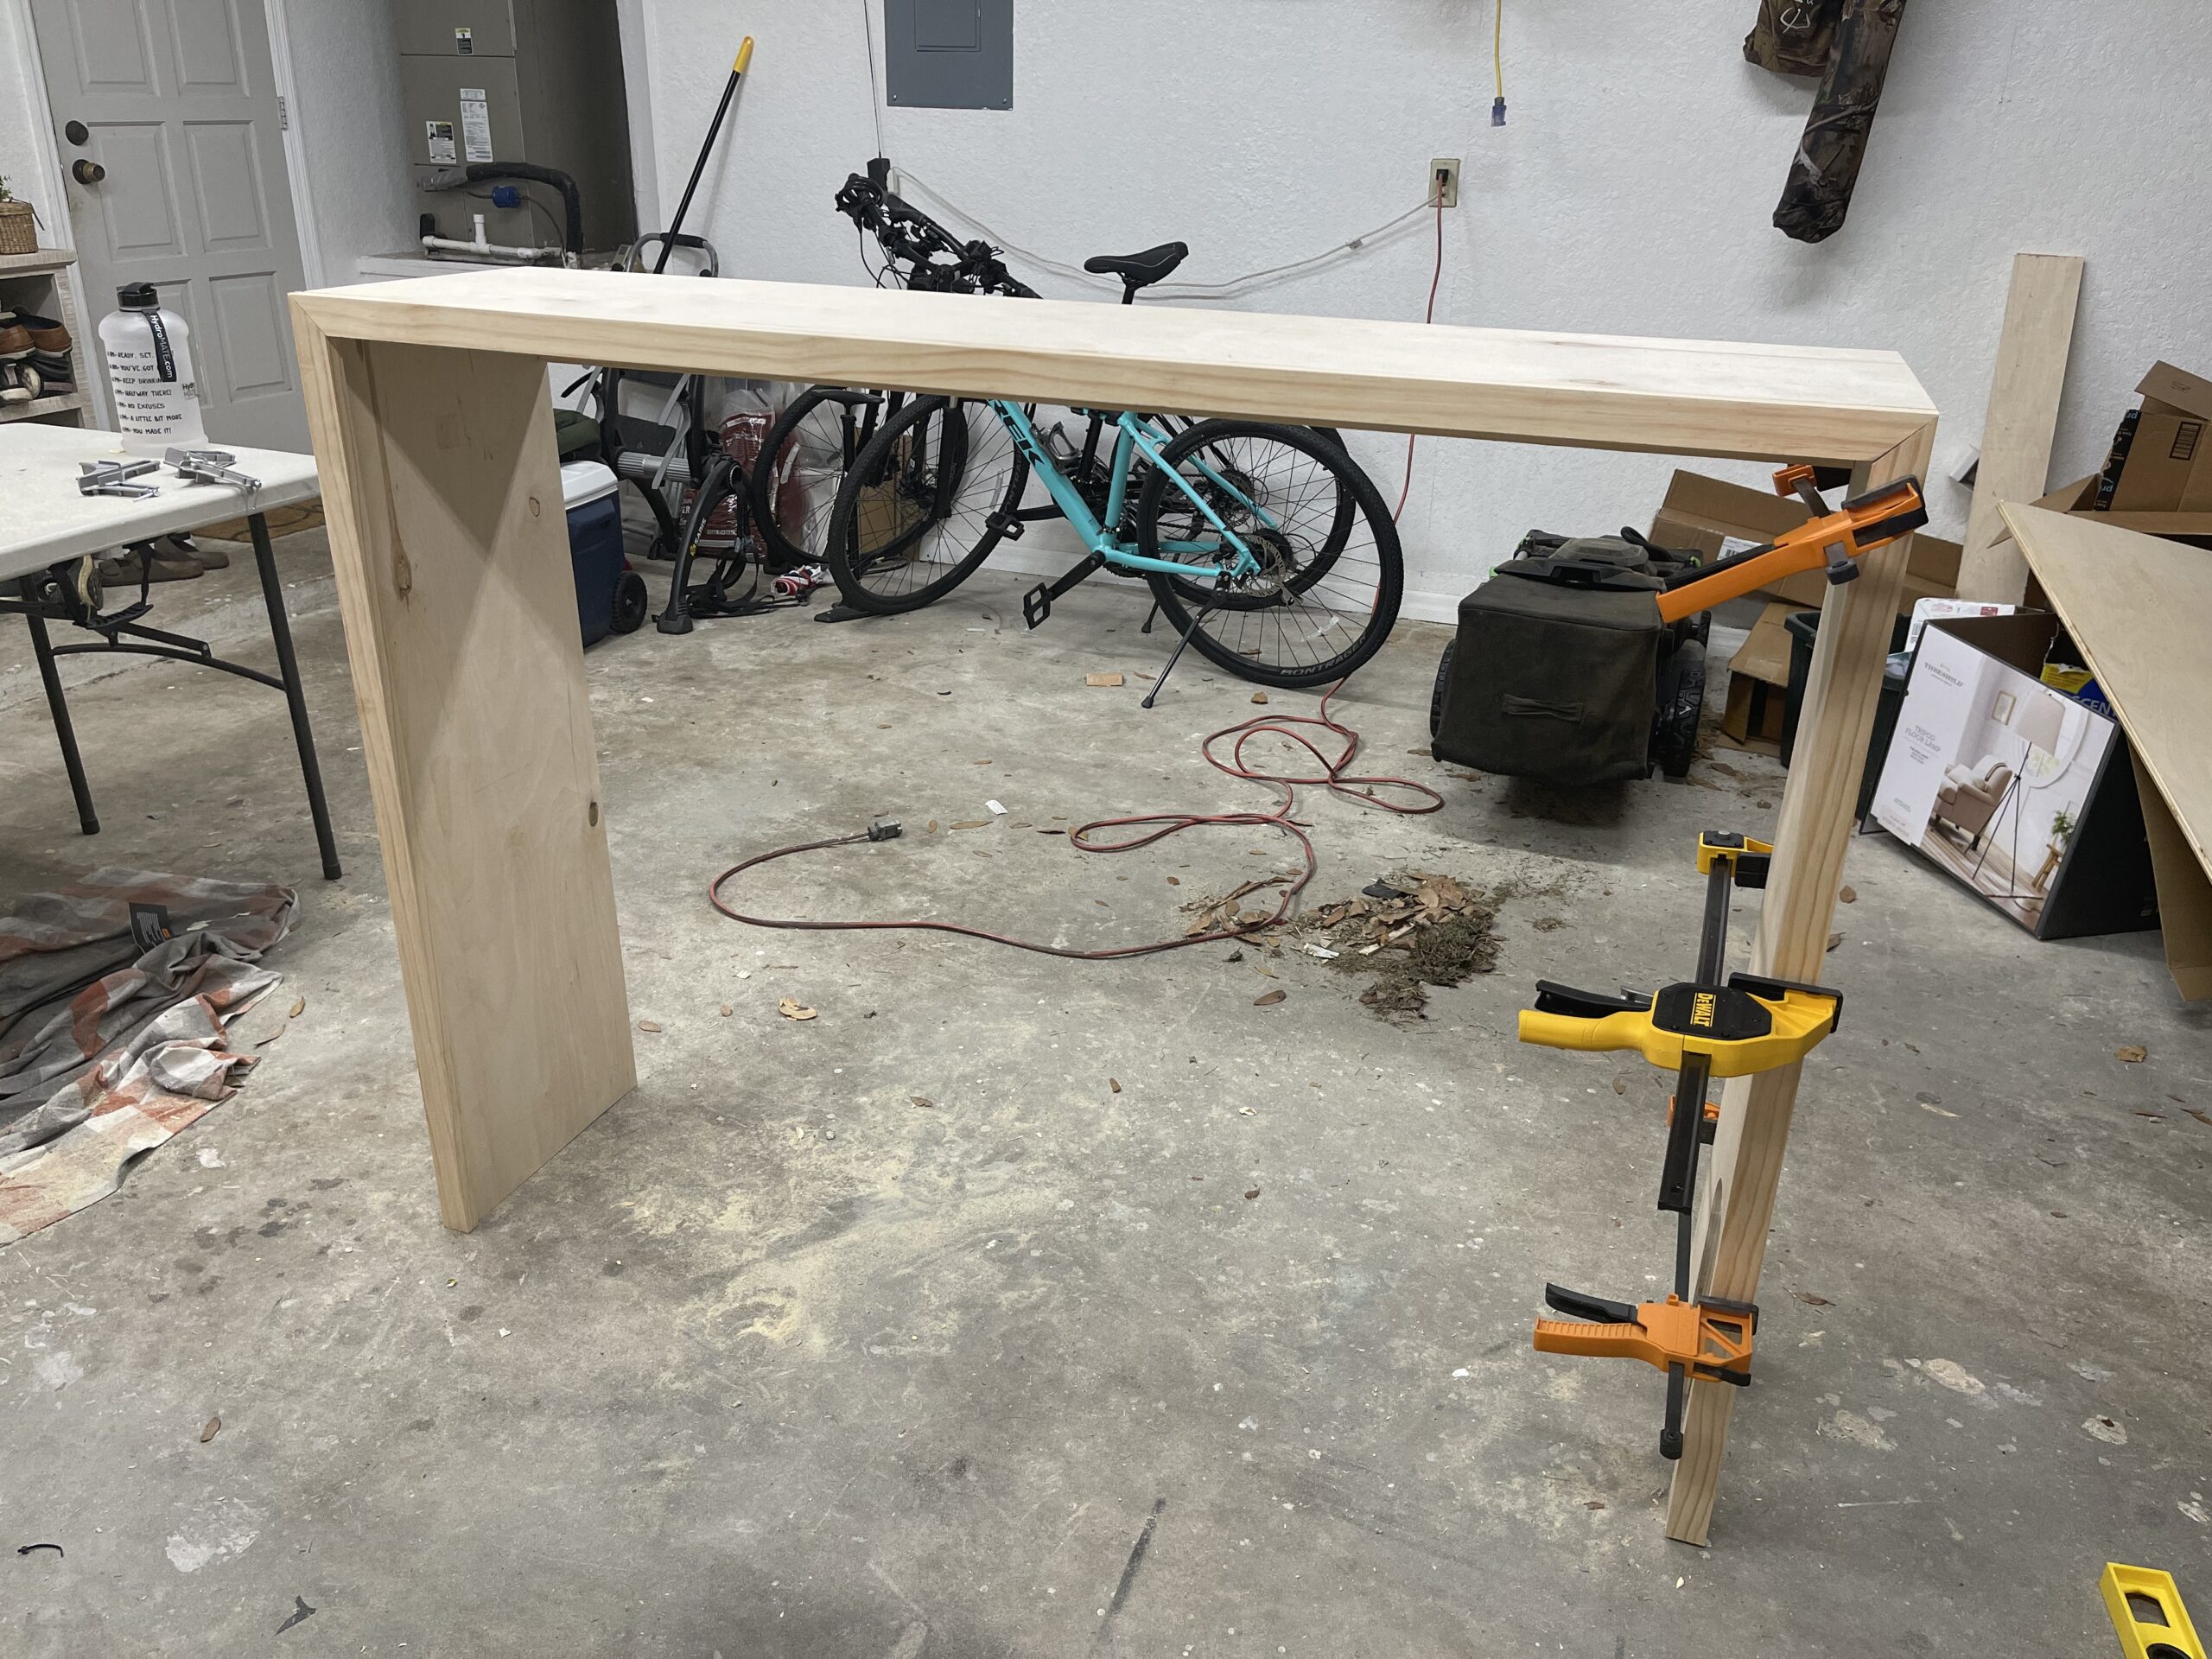
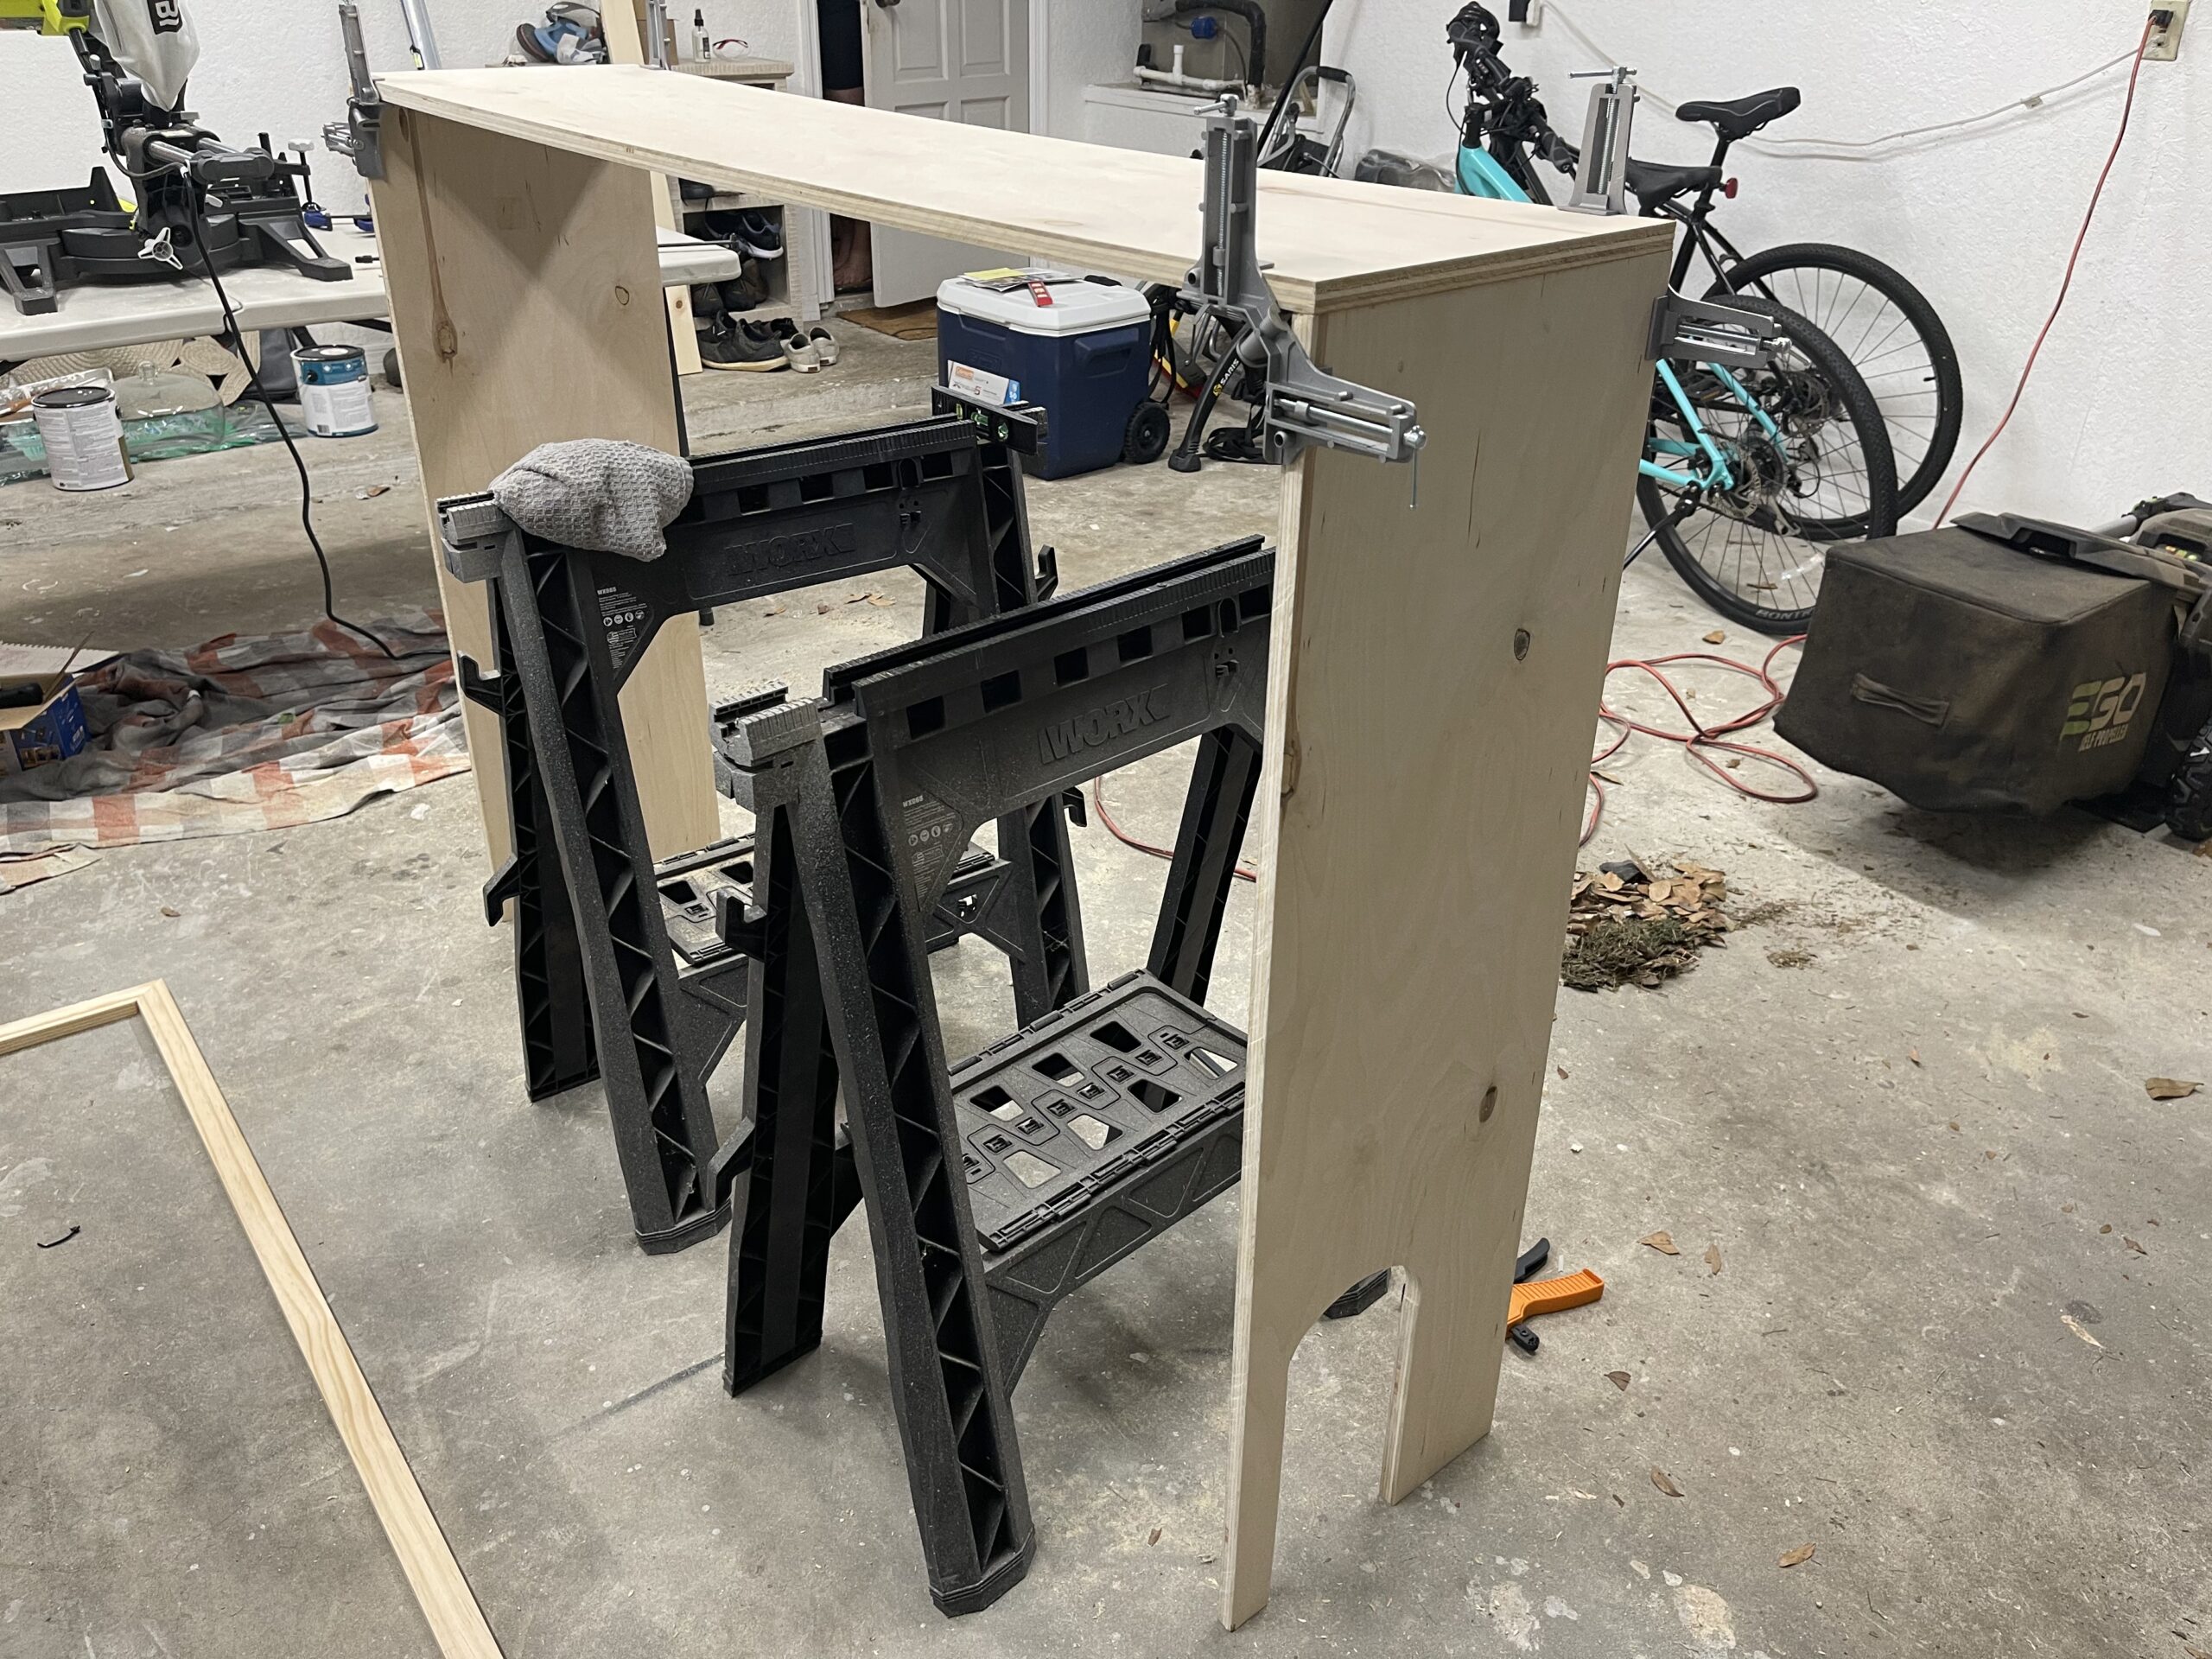
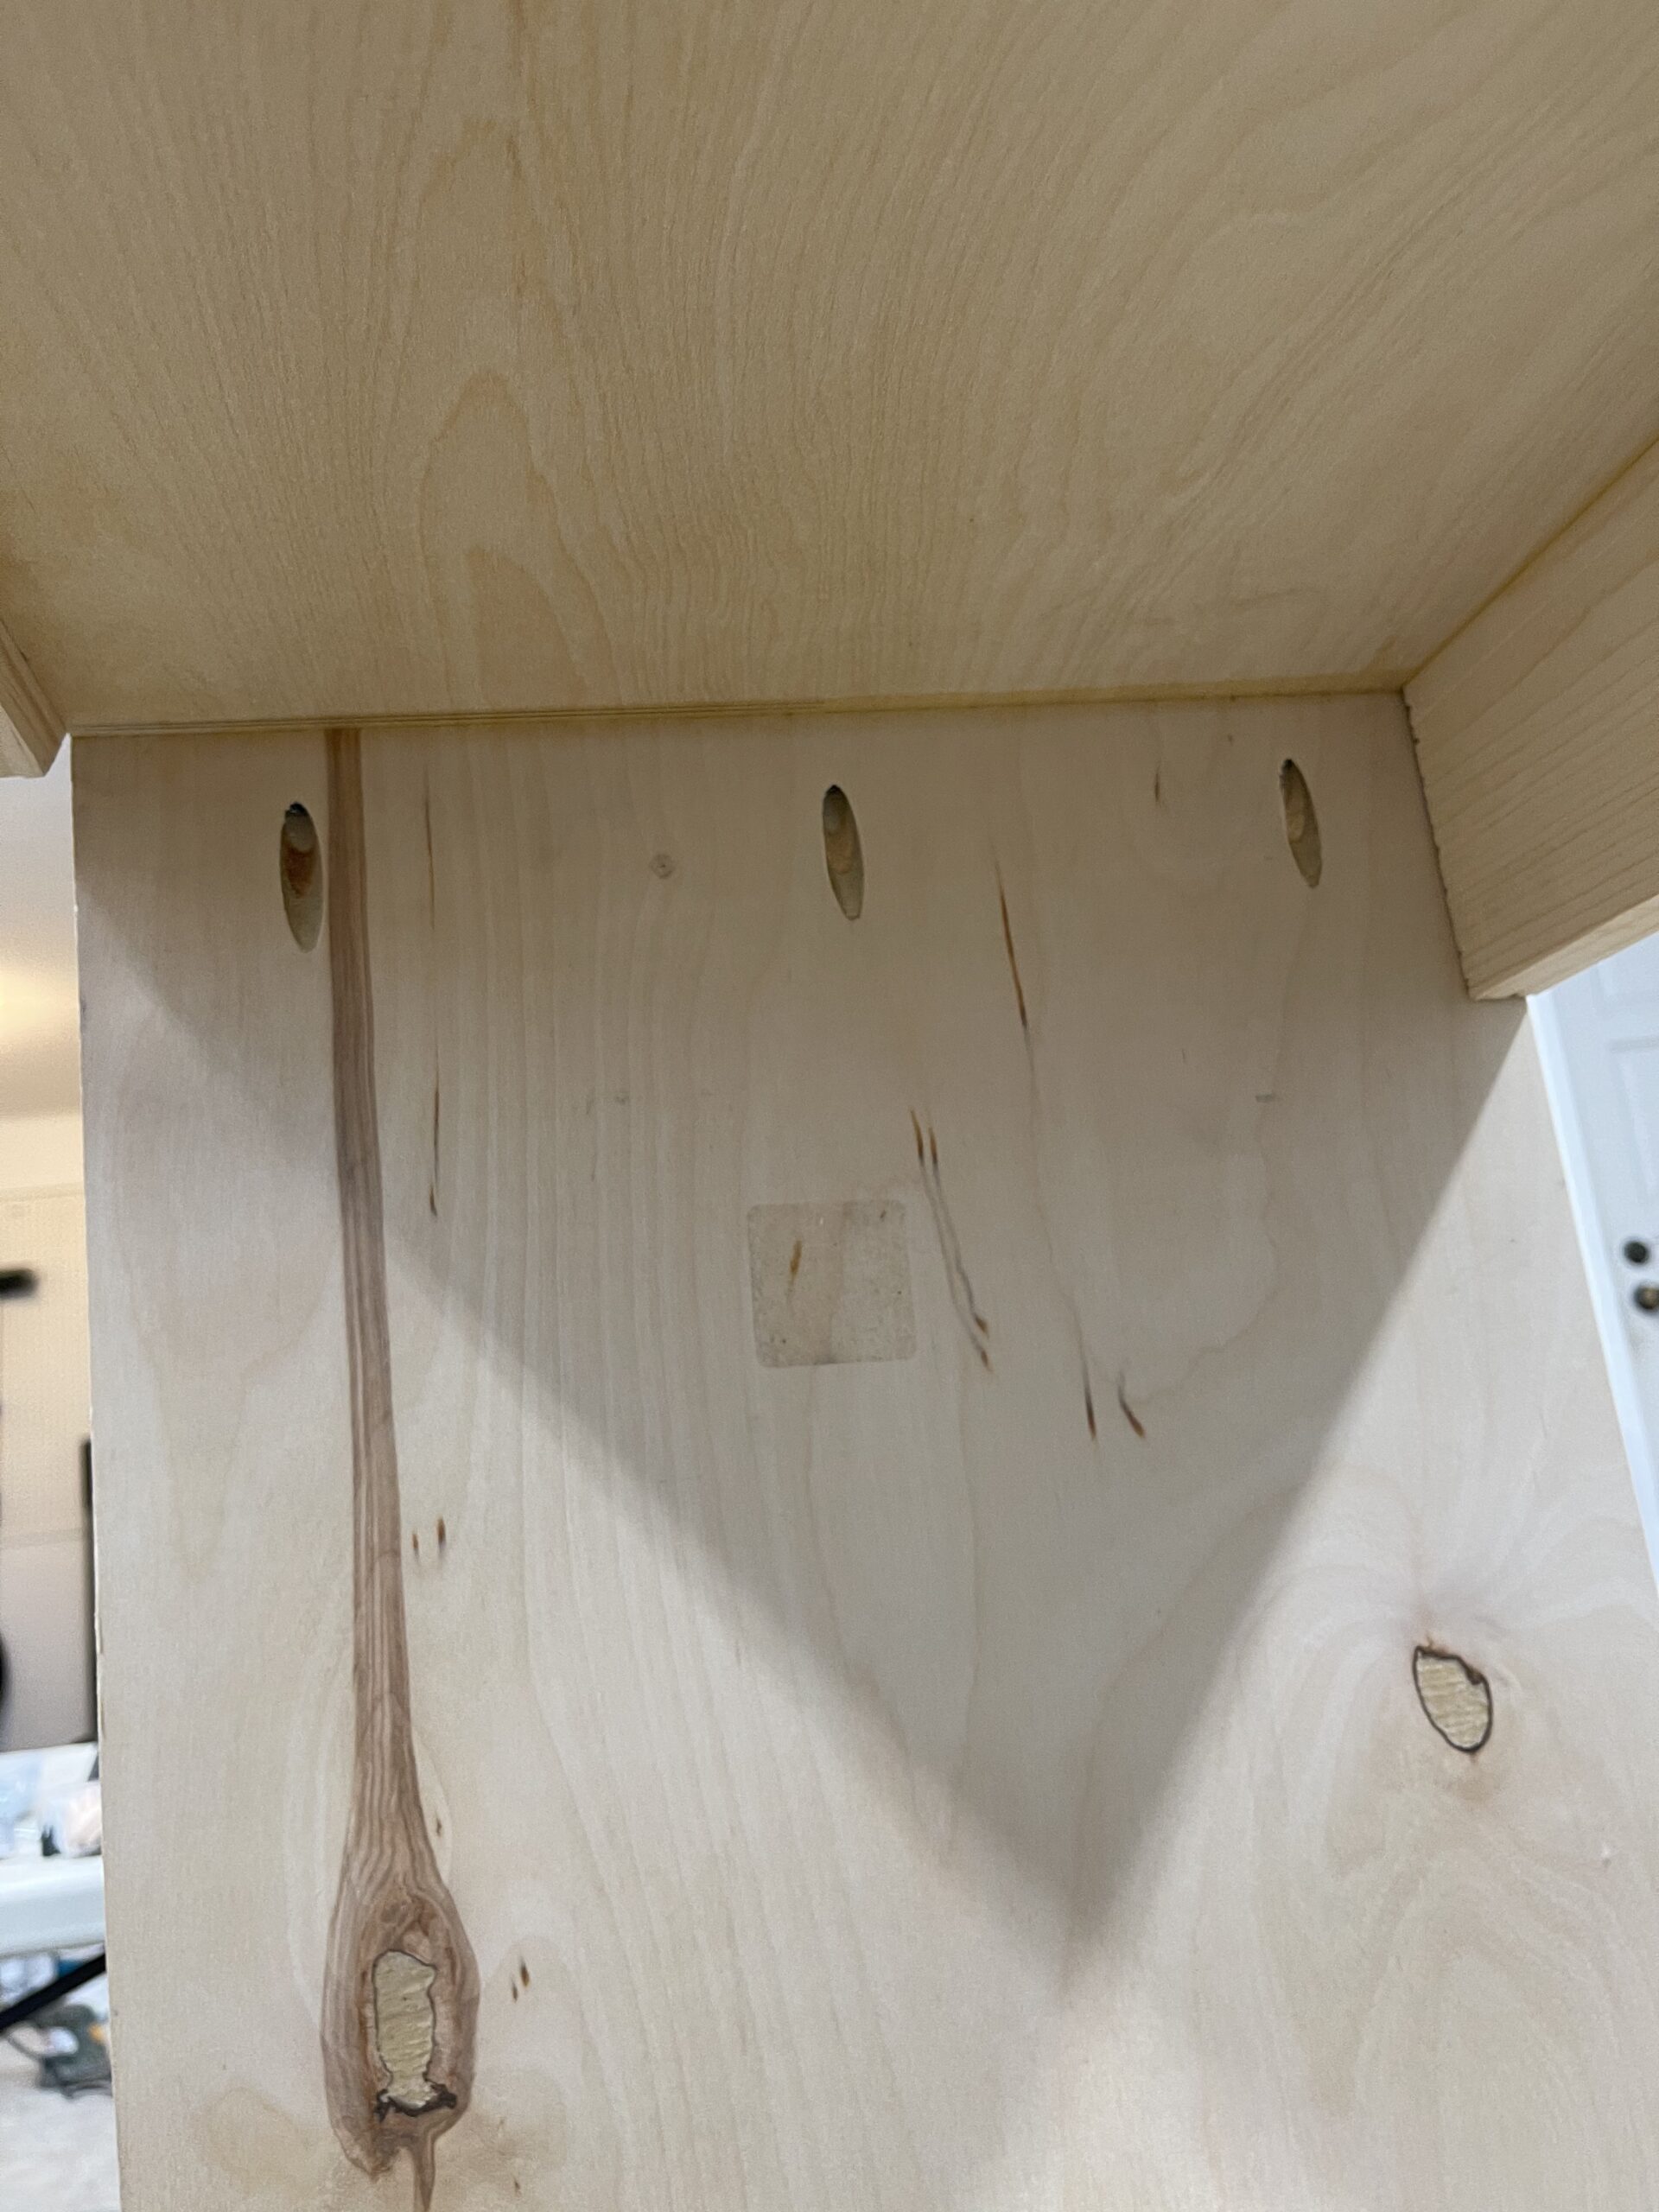
Step Four: Building the Frame
I used my Kreg Jig pocket hole system to create three pocket holes on the inside of each side piece. Then, use wood glue to adhere each side to the top shelf, clamp, and let dry. Once it’s dry, you can drill your pocket screws into your pre-drilled holes and you’ve got a solid standing shelf! A complete breakdown of how to use the Kreg Jig is also on my Instagram page.
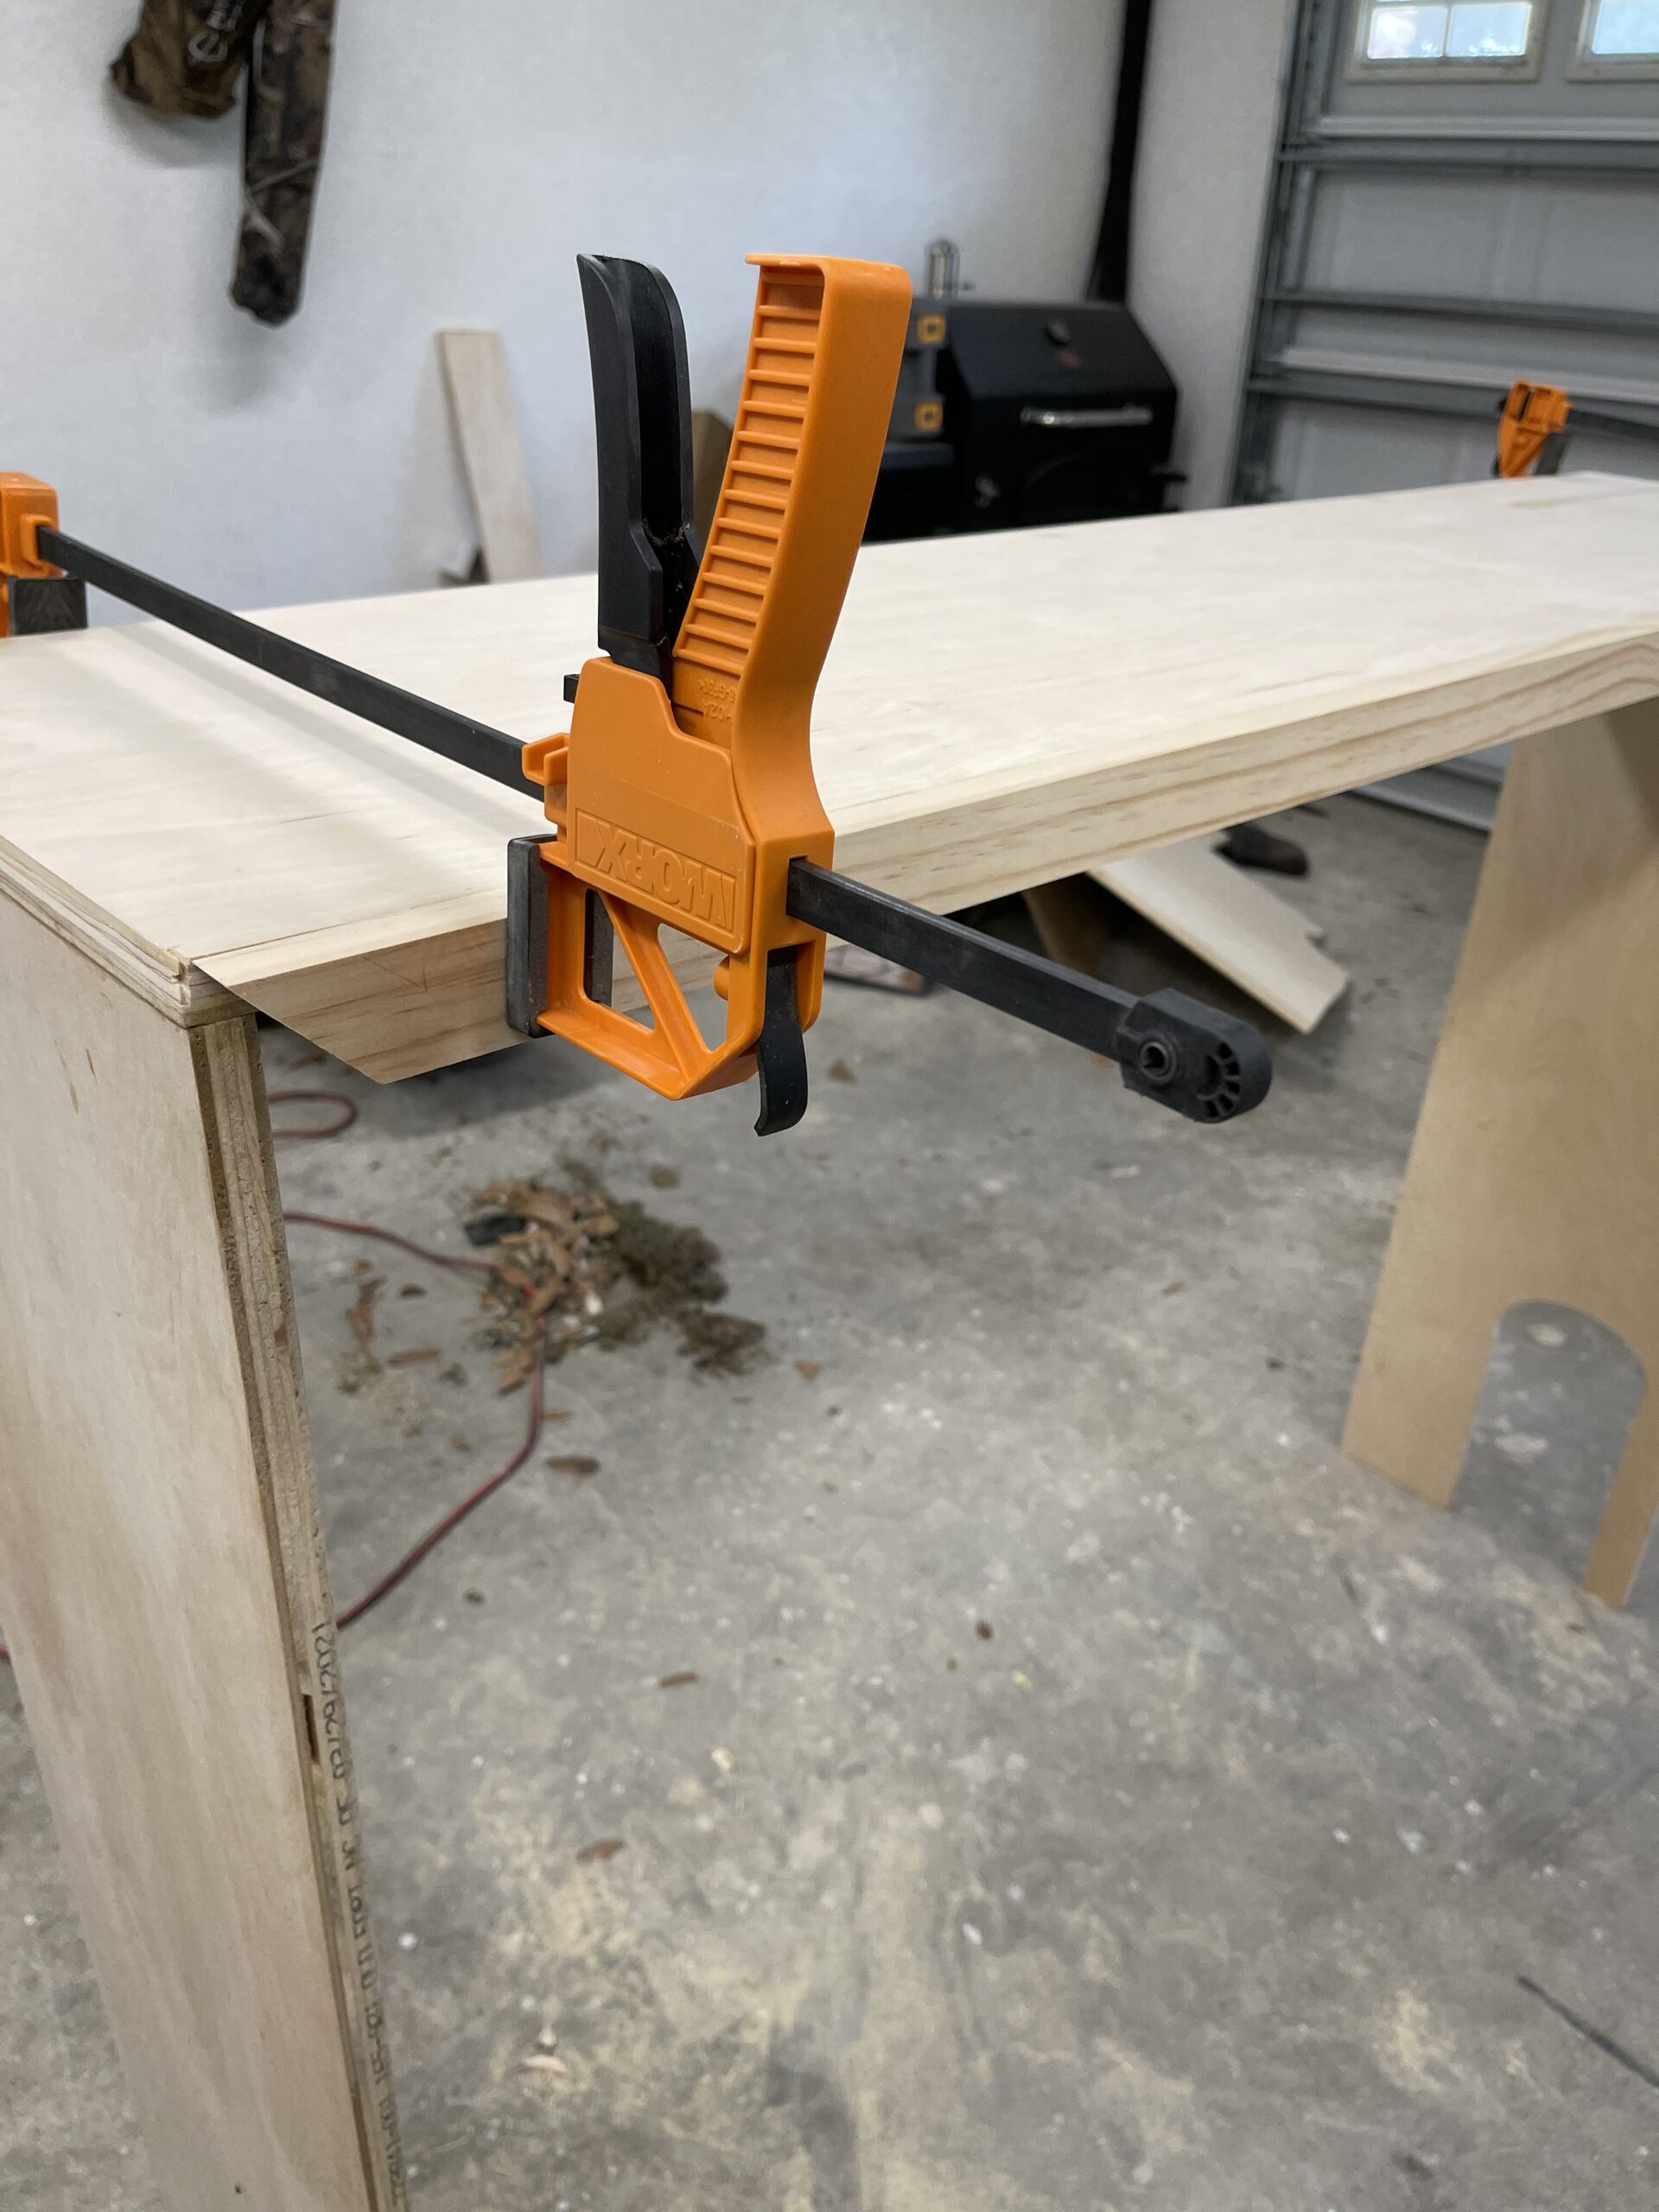
Step Five: Adding Trim
All you need to attach your pine trim to your shelf is wood glue and clamps. Add wood glue to the plywood and make sure you have enough to coat the entire edge. Then, clamp your first piece of trim (I started with the top piece), and clean up any excess glue that drips out with a wet rag. Tip: If the glue dries before you wipe it up, it will show through when you apply stain or paint.
Step Six: Sand & Paint
We’re in the home stretch! Once you’ve added your trim, and the wood glue has dried, it’s time to sand and paint/stain. I sanded down everything with 220 grit sand paper using my sheet sander. Remove excess sawdust with a tack cloth, and then stain away! I used Minwax’s Classic Grey.